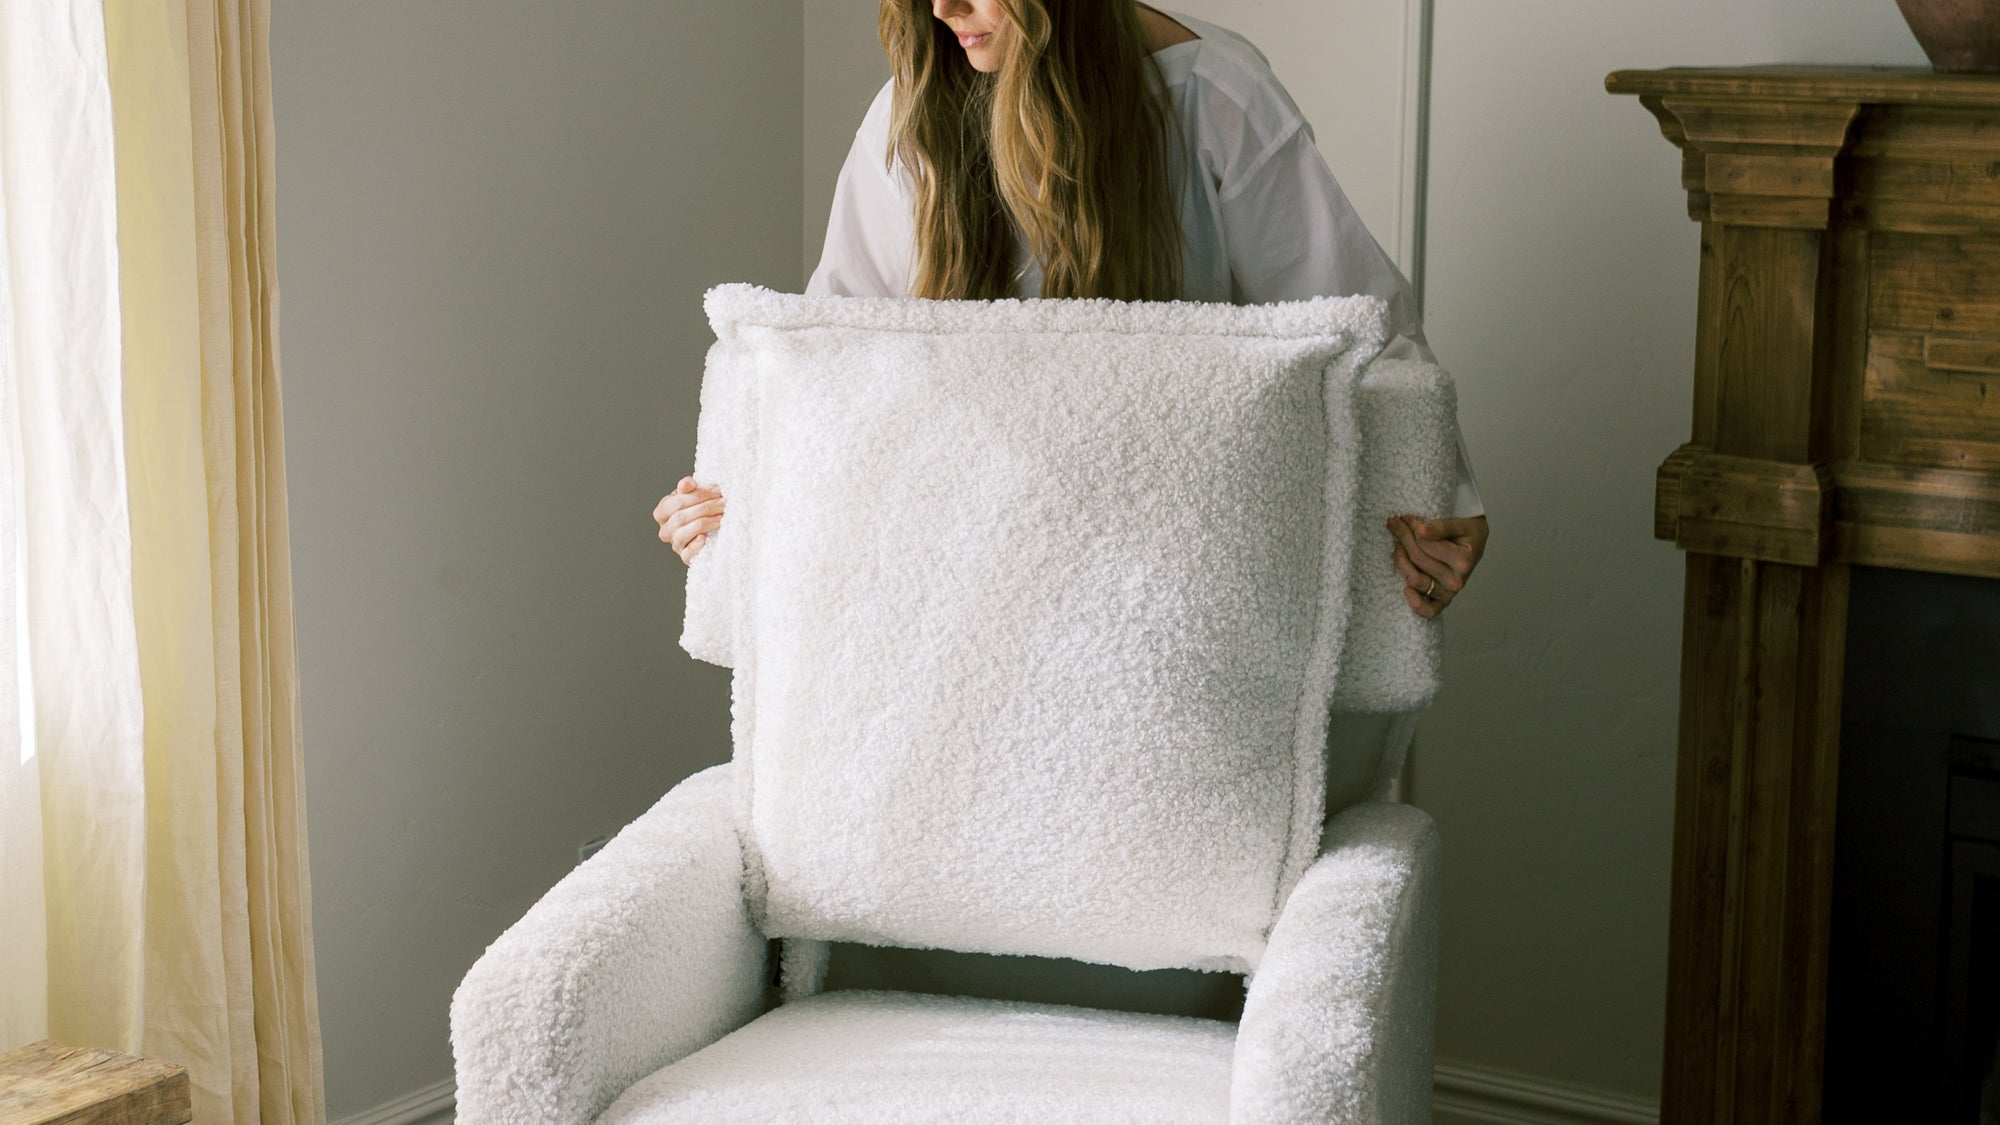
QUICK SET-UP GUIDE
For your Oilo Studio Glider/Recliner
1. CAREFULLY REMOVE ALL PACKAGING
2. PLACE CHAIR IN CHOSEN LOCATION
TIP: It's especially important for recliners and gliding/swivel chairs to have sufficient clearance to prevent damage and ensure comfort. Aim for at least 12-18 inches of space behind and around the chair for smooth movement.
TIP: Avoid dragging chair to prevent scratching floors.
3. FOR POWERED CHAIRS
TIP: Locate the cord under the chair, connect the cord and power box then plug into a wall outlet.
TIP: For safety and optimal use, ensure the cord is positioned away from the chair.
4. ENJOY YOUR CHAIR
TIP: Before leaving the chair, please return the recliner to its upright position to ensure it is properly aligned and ready for the next person to use comfortably.
ASSEMBLY INSTRUCTIONS
For european and UK Customers Only
TROUBLESHOOTING
FOR YOUR POWERED OILO STUDIO GLIDER/RECLINER
If your chair has lost power, the most likely cause is a loose connection, even if it appears plugged in. Follow these steps to troubleshoot and restore power:
1. Lay the chair on its non-power side (the side opposite the power button)
2. Locate and check the cords running from the motor
3. Disconnect and firmly reconnect each of the following connections:
Connection 1: Motor to Power Box.
Connection 2: Power Box to Wall Plug.
4. Once all connections are secure, test the chair
HOW TO KEEP YOUR OILO™ RECLINER LOOKING NEW
Read these 5 tips on upkeep & how to clean your upholstery fabric recliner or glider!

