Design Boards
When creating a design board here at Oilo we usually start with Pinterest. We create a new board for the particular project and start pinning styles that we think will fit the project or clients needs.
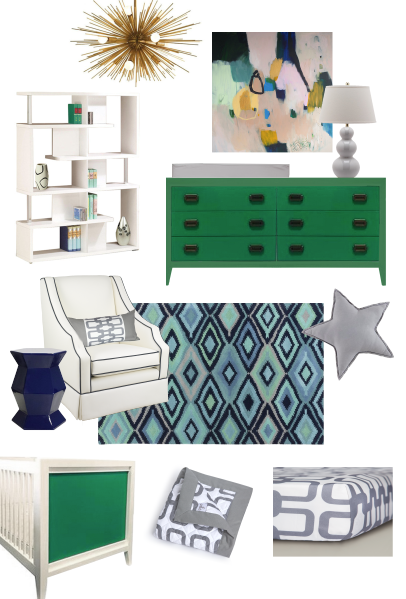
A design board is similar to a Pinterest board but the products are more defined. Instead of showing a product in a room you like, you actually grab the actual product and put it on your design board.
Below is the design board we created for Amber Fillerup.

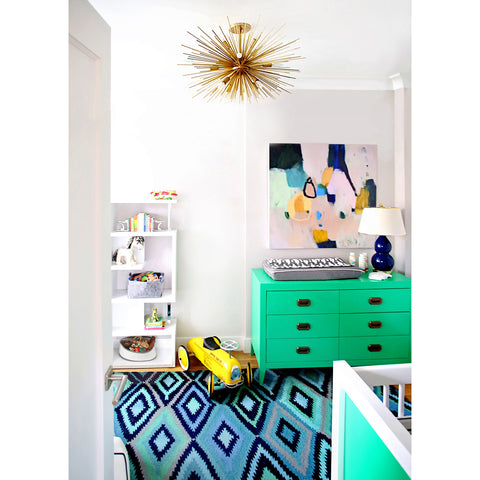
Here is an image of the final room:

As you can see, the design board isn't EXACTLY what the room looks like, but it is pretty darn close.
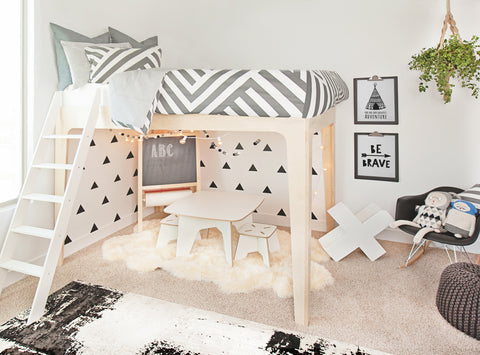
Here is another design board we created for Cara Loren with the finished room in the following images.


Three tips to create a better design board:
- We use photoshop when creating our design boards. Photoshop Elements is much cheaper and will work just great too.
- When pulling products images, try to find a good one with a white background. Many times we search google images to find the best one. Most products are sold at more than one store or have additional images that are hard to find on their website so Google Images is a great resource.
- You don't have to overlap products, but sometimes it helps to visualize the space. If your design board needs this, then you can quickly learn how to delete your backgrounds in photoshop by watching this quick video.
- If you don't overlap just lay them side-by-side like we did with Cara Loren's design board above. It still gives you a great visual of what the room will look like.


Leave a comment
This site is protected by hCaptcha and the hCaptcha Privacy Policy and Terms of Service apply.